
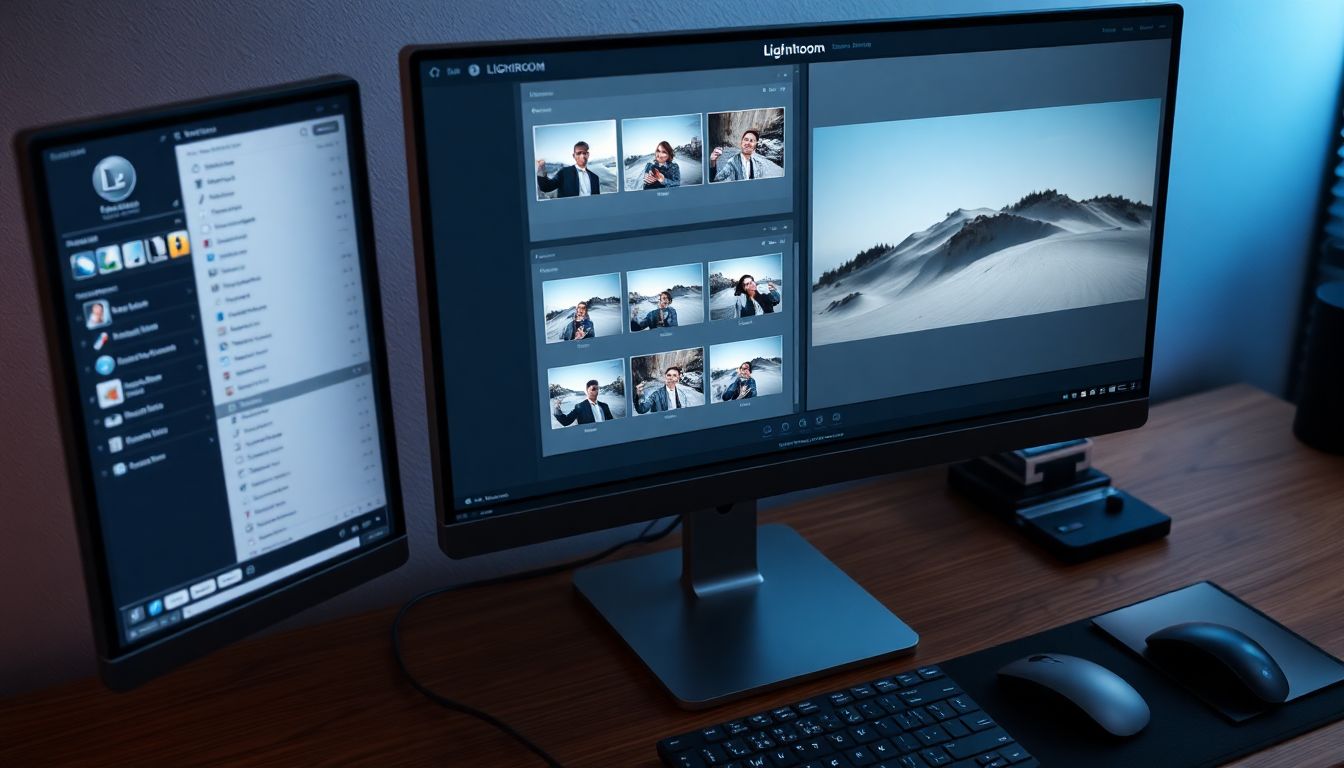
How to Export Photos from Lightroom: A Complete Guide
Ever felt lost after spending hours editing in Lightroom? You make all those tweaks, but then you're stuck on how to export. It's a common problem!
Exporting photos correctly matters. You want them to look amazing whether they're online or in print. This guide walks you through the simple steps to master Lightroom exports. Get ready for killer results.
Understanding Export Settings in Lightroom
Lightroom has many export options. Don't worry, we'll break them down. These settings affect how your images look and how big the file will be. Nail these for best results.
File Settings: Choosing the Right Format
Lightroom gives you choices for image formats. JPEG, TIFF, DNG, and Original. Each has pros and cons.
- JPEG: Great for web use. Small file sizes, good quality.
- TIFF: Ideal for printing. Keeps all the image data, lossless compression.
- DNG: Adobe's raw format. Preserves image quality, useful for archiving.
- Original: Exports the photo as it was imported.
Choose JPEG for sharing online. Pick TIFF for prints. Is archiving your goal? Go with DNG.
Image Sizing: Resize, Dimensions, and Resolution
Sizing matters. It impacts how your photos appear. Pixel dimensions are the image's width and height. Resolution (PPI) is pixels per inch.
- Pixel Dimensions: The size of your image in pixels.
- Resolution (PPI): How many pixels are squeezed into each inch. Higher PPI means sharper prints.
- Long Edge/Short Edge: Resize your photo based on its longest or shortest side.
Images for the web don't need high resolution. Prints do. Keep this in mind!
Metadata: Preserving and Protecting Your Work
Metadata stores important information. This could be copyright info, keywords, and more. Add it to your photos.
Why is this important? It protects your work. It also helps you organize images. Include your name, website, and relevant keywords.
Step-by-Step: Exporting Photos for Web Use
Let's get into exporting for the web. We'll make photos look great on any platform.
Resizing for Web: Finding the Sweet Spot
Resizing matters for websites. Big images slow down loading times. Find the right balance.
- Websites/Blogs: 1200-2000 pixels on the long edge.
- Instagram: 1080 pixels wide.
- Facebook: 2048 pixels on the long edge.
These sizes keep your images sharp. Plus, they load quickly.
File Format and Quality: Balancing Size and Sharpness
JPEG is the go-to for web images. Quality settings are key. Aim for 70-80% quality. This gives a good balance between file size and sharpness. Also, use sRGB color space for web images. Colors look consistent across different browsers.
Watermarking: Protecting Your Online Images
Watermarks protect your photos. Add a subtle logo or text. This prevents unauthorized use. Lightroom lets you create watermarks easily. Keep it small and unobtrusive.
Exporting Photos for Print: High-Resolution Perfection
Printing needs different settings. High resolution is a must.
Resolution and Sizing for Print: Avoiding Pixelation
Print resolution should be high. 300 PPI is the standard. This avoids pixelation. Size your image correctly for the print size. For example, an 8x10 print needs 2400x3000 pixels.
File Format: TIFF for Professional Printing
TIFF is the best format for printing. It’s lossless. This means no quality loss when saving. TIFF keeps all the image data. Perfect for professional prints.
Color Management: Ensuring Accurate Colors in Print
Colors can shift in print. Color profiles help manage this. Adobe RGB has a wider range of colors. sRGB is smaller. Check with your print lab. Find out what they recommend.
Creating and Using Export Presets: Streamline Your Workflow
Presets save time. Create them for common export settings.
Designing Your Own Presets: A Tailored Approach
Here’s how to make presets.
- Go to File > Export.
- Choose your settings.
- Click "Add" in the Preset panel.
- Name your preset.
- Click "Create."
Now you can use this preset anytime.
Preset Examples: Web, Print, and Specific Platforms
Here are some preset ideas:
- Web: JPEG, sRGB, 1200 pixels long edge, 75% quality.
- Print: TIFF, Adobe RGB, 300 PPI, no resizing.
- Instagram: JPEG, sRGB, 1080 pixels wide, 80% quality.
Troubleshooting Common Export Issues
Sometimes things go wrong. Here's how to fix common problems.
Image Quality Loss: Identifying the Culprit
Quality loss happens from over-compression. Check your JPEG quality settings. Make sure they aren't too low. Export again with higher settings.
Color Shifts: Ensuring Accurate Color Reproduction
Colors can change when exporting. This is often because of color profiles. Use sRGB for web. Use Adobe RGB for print. Calibrate your monitor, too.
Slow Export Times: Optimizing Performance
Slow exports can be frustrating. Large file sizes slow things down. So does older hardware. Close other programs. Try exporting in batches. Upgrade your computer if needed.
Conclusion: Mastering Lightroom Exports
Exporting from Lightroom doesn't have to be a headache. Understanding the settings helps a lot. Pay attention to file formats, image sizing, and color management.
Experiment with different settings. Find what works best. You'll be exporting like a pro in no time. Get out there and share your work.

0 Comments